The holiday season is upon us and this means parties and family get togethers! This cheeseball adds a savory, smoky with a bit of sweetness to any appetizer table.
I often use my family and friends as my taste testers for recipes and this one was critiqued during Thanksgiving. Per my dad “The Cranberries round out this recipe and help balance the smokiness from the gouda”. I almost dropped the gravy that I was making when he said that, as my dad is a man of few words.

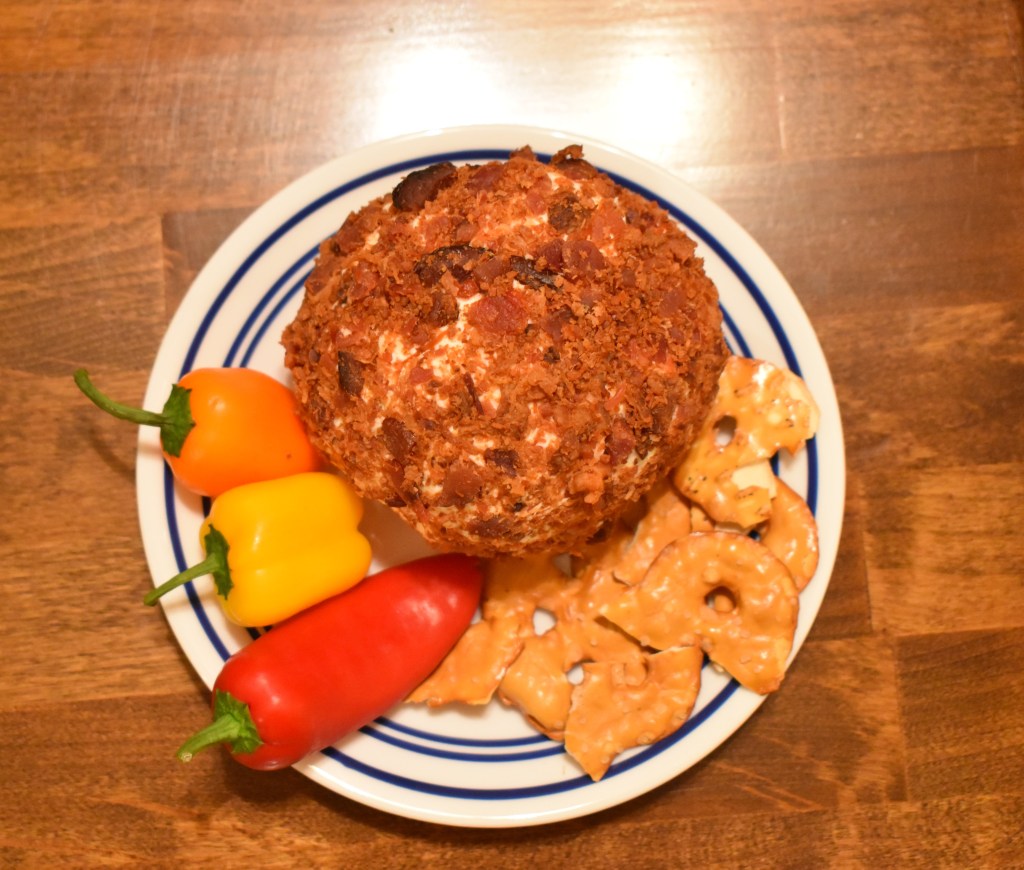
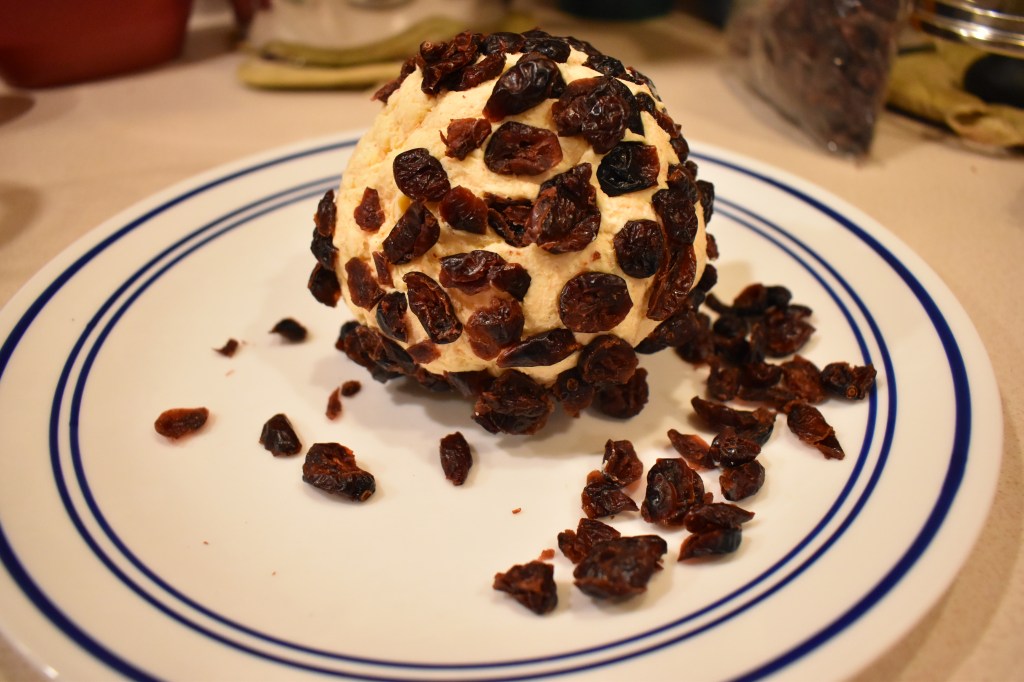
Smoked Gouda Cranberry Cheeseball
Ingredients:
1 package of cream cheese softened
½ c shredded smoked gouda
½ c shredded aged gouda
½ c shredded sharp cheddar
½ teaspoon ground white pepper
½ teaspoon smoked paprika
Sweetened dried cranberries roughly chopped

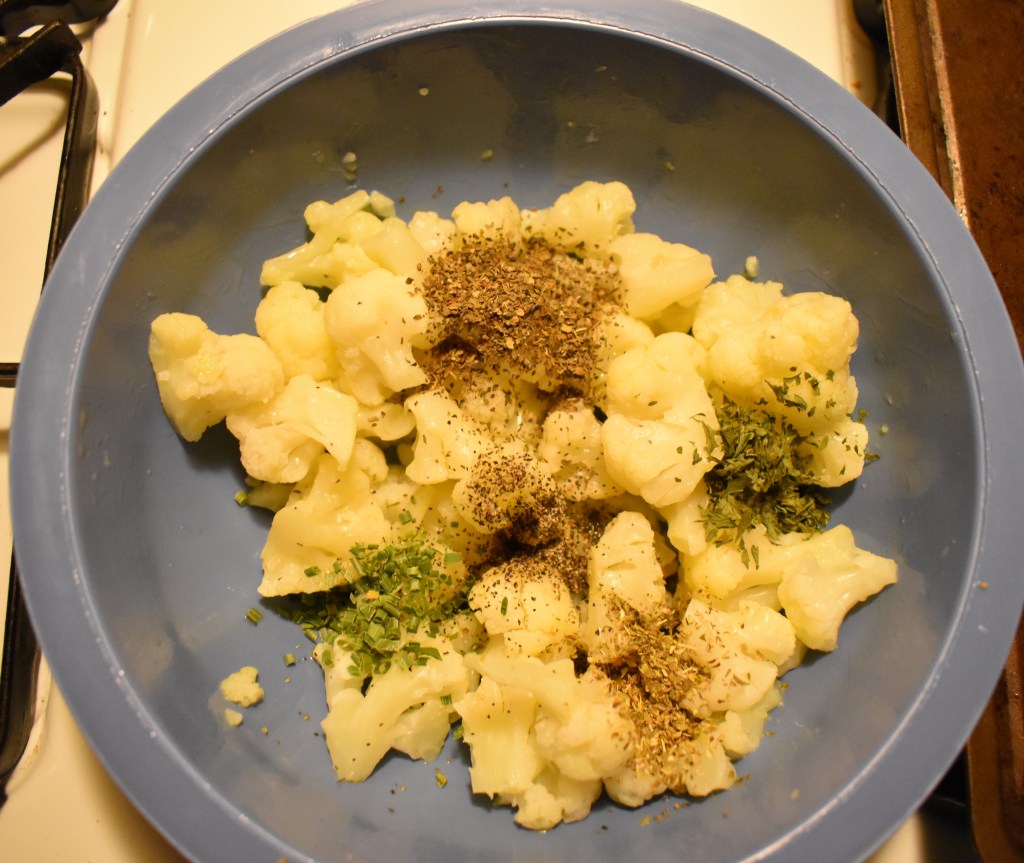
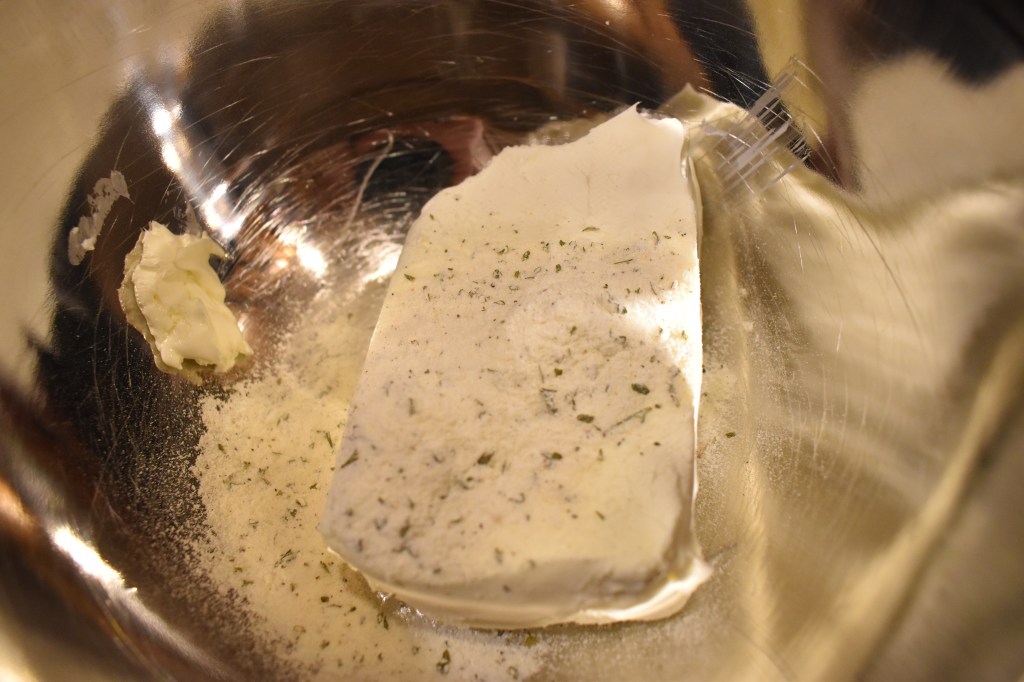
Add soften cream cheese and seasonings (ground white pepper and smoked paprika to a bowl).
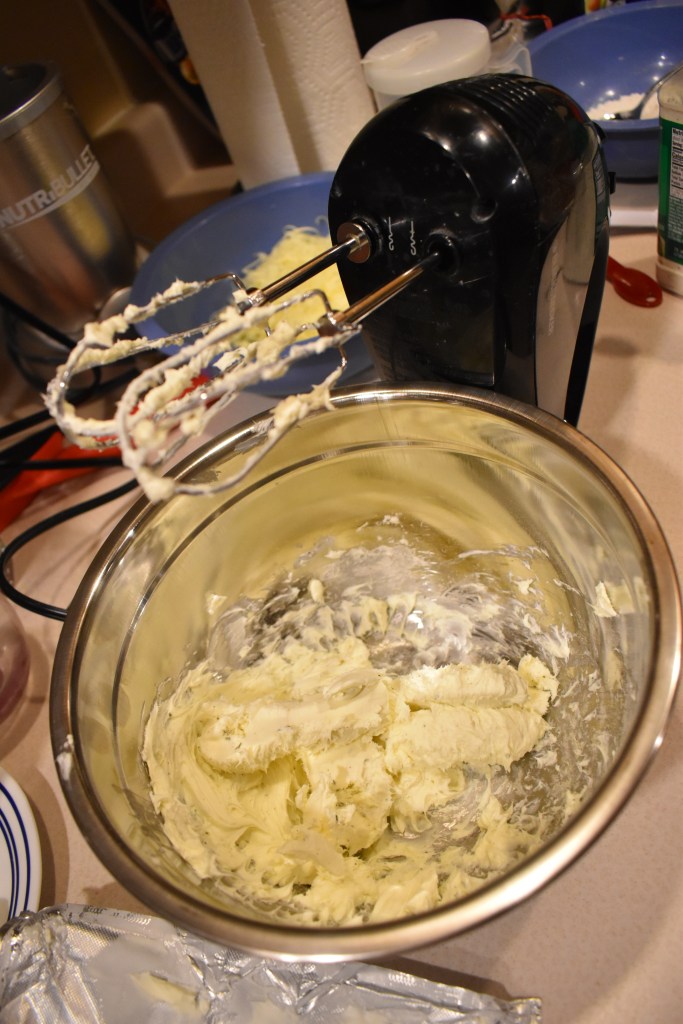
Using an electric hand mixer combine ingredients together. At this time, I will sample the now seasoned cream cheese and if I feel that it needs some extra pepper or paprika this is the time to do so!
Add shredded cheese and mix.
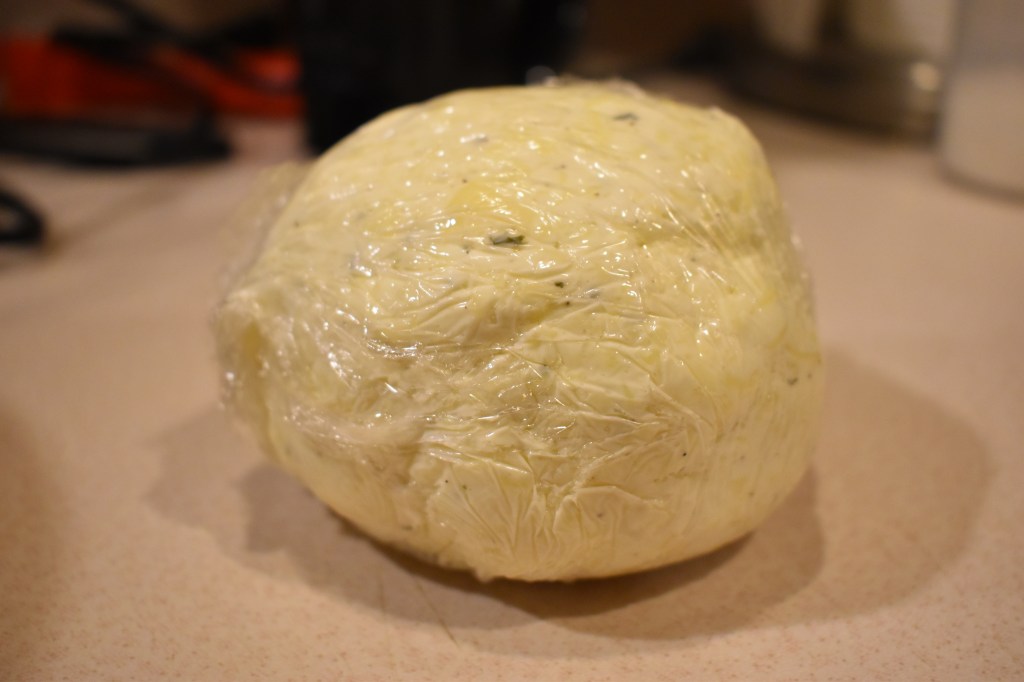
Form into a ball and wrap in plastic wrap. Chill a minimum of 30 minutes or until ready to use!
Remove plastic wrap and roll in sweetened dried cranberries.
Serve with crackers, pretzels and veggies.

Enjoy
If you make this recipe, please show me your creations at @inthekitchenwithjohnnarose on Instagram or #IntheKitchenwithJohnnaRose