Johnna’s Venison Chili

I created this Chili recipe after I graduated college and had more ground venison in my freezer than ground beef. That could be from my parents filled my freezer with it when I moved out.

This recipe is similar to how my mom makes her chili, and is a must if having cornbread muffins. Seriously this recipe is so simple and that after you brown the ground venison, the crock pot does the rest of the work for you!!

If you do not have ground venison, any type of ground meat will work.

Ingredients:

1 lb of ground venison

1 medium onion diced

1 15oz can of diced tomatoes

2 15oz cans of tomato sauce

1 15oz can of light kidney beans

¼ cup Chili powder

½ tsp Cayenne Pepper

½ tsp Garlic powder

½ tsp Pepper

Instructions:

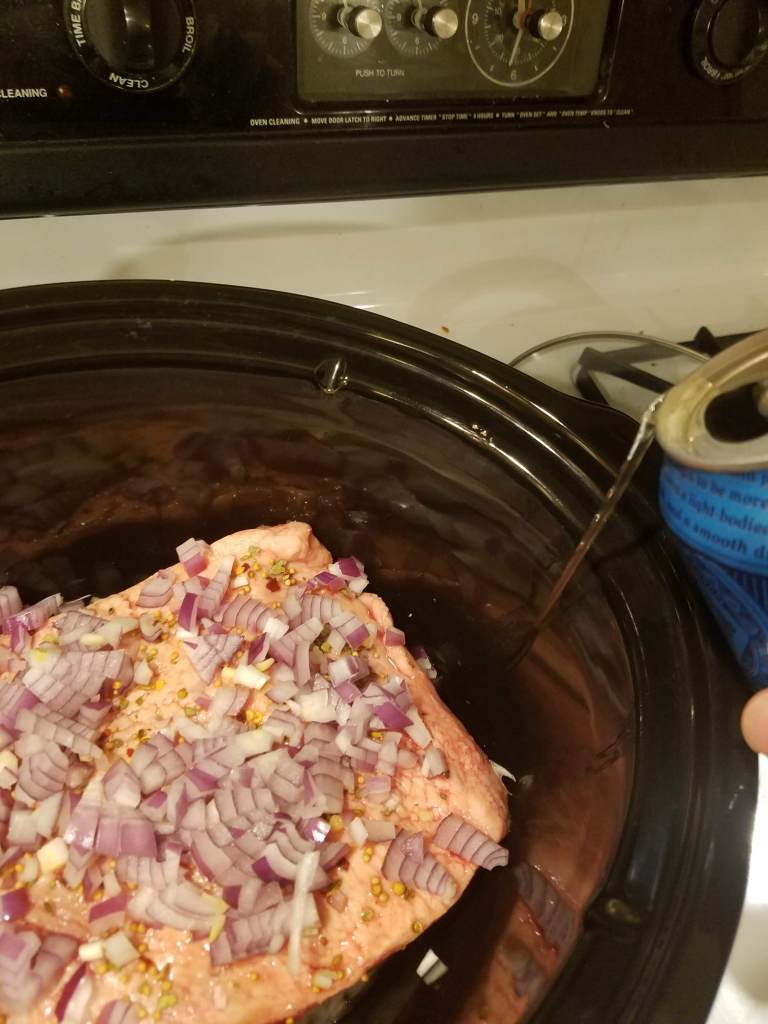
In a medium skillet brown ground venison and cook down the chopped onion.

Add ground venison and onion to a 6 quart crock pot.

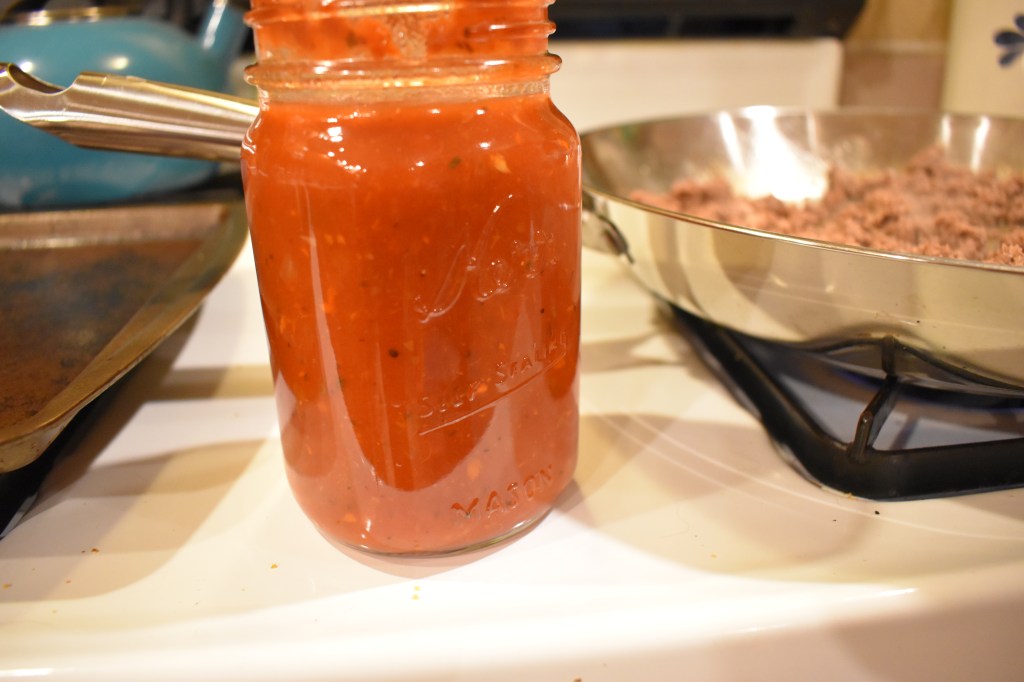
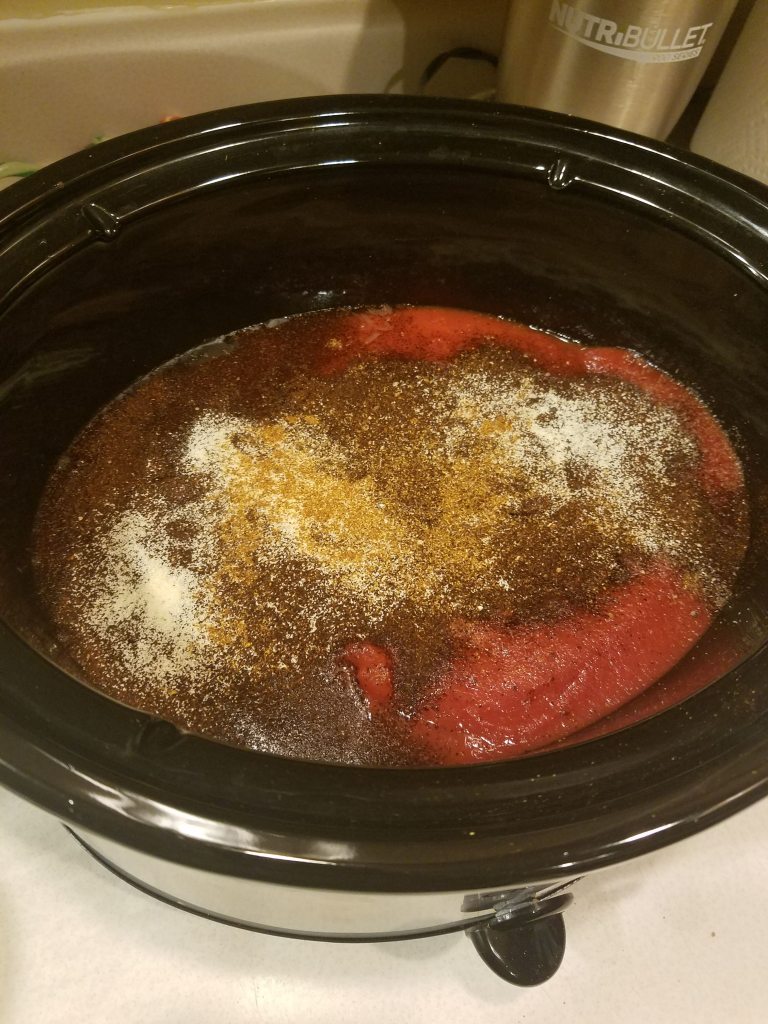
Add 1 can of diced tomatoes and the two cans of tomato sauce.

Diced tomatoes and tomato sauce.

Next add 1 can of kidney beans. DO not rinse off those beans!

Add seasonings (Chili Powder, Cayenne Pepper, Garlic Powder and Pepper). Note I did not add salt as the salt will come from the canned kidney beans and the juice will work as a natural thickening agent for the chili.

All of the seasonings.

Stir.

Cook on low for 6-9 hours or on high for 2-4hrs.

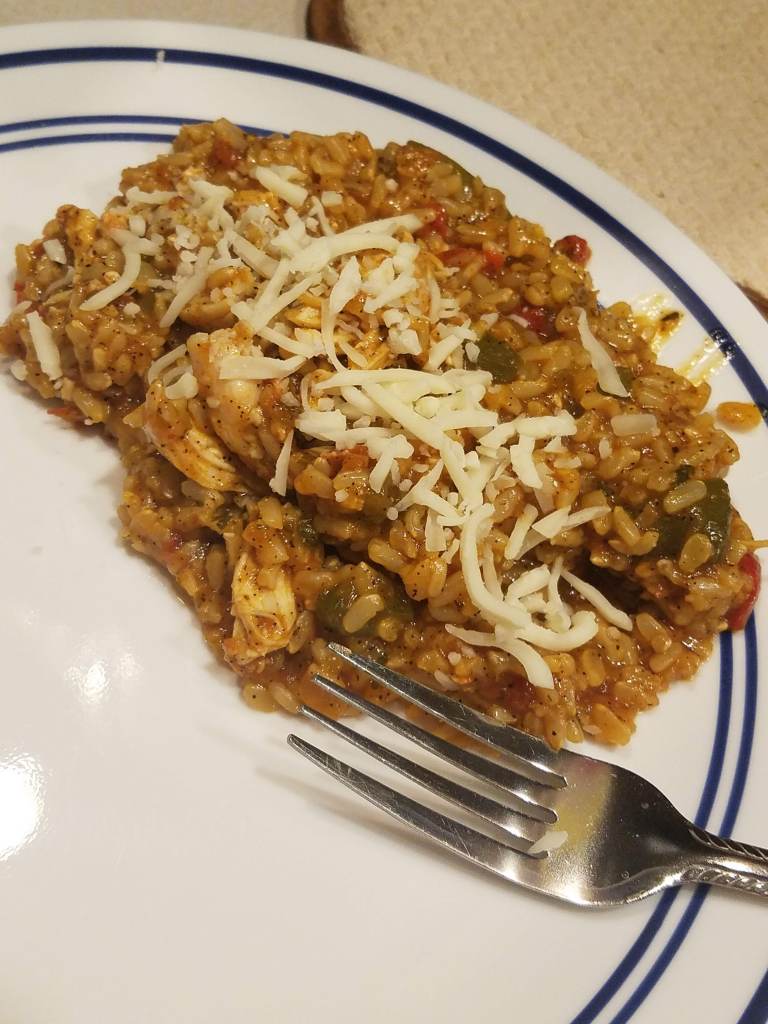
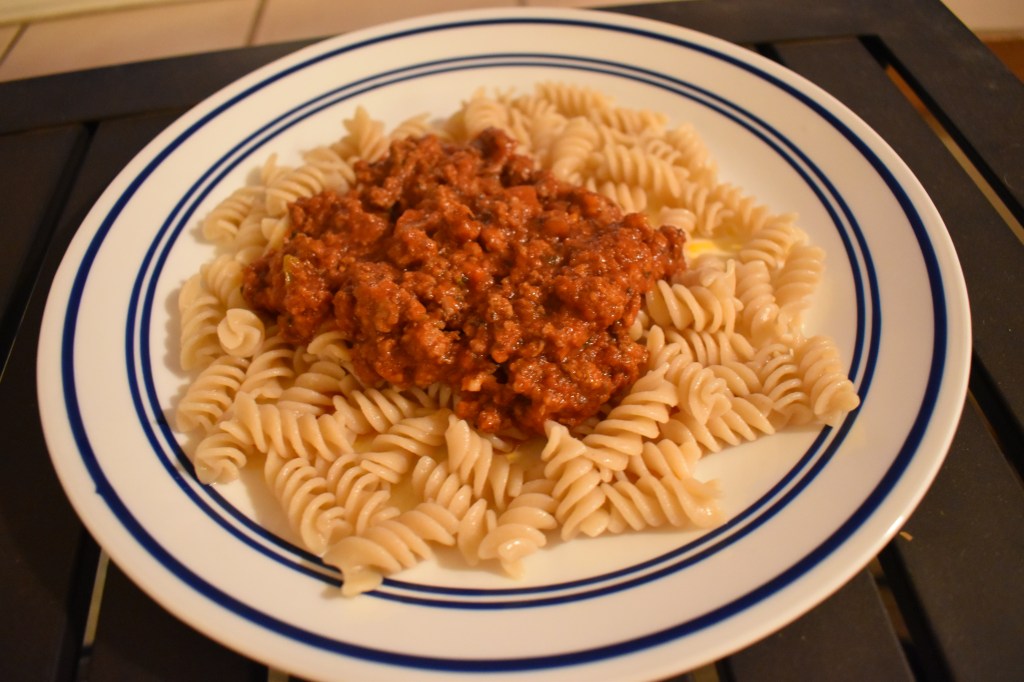
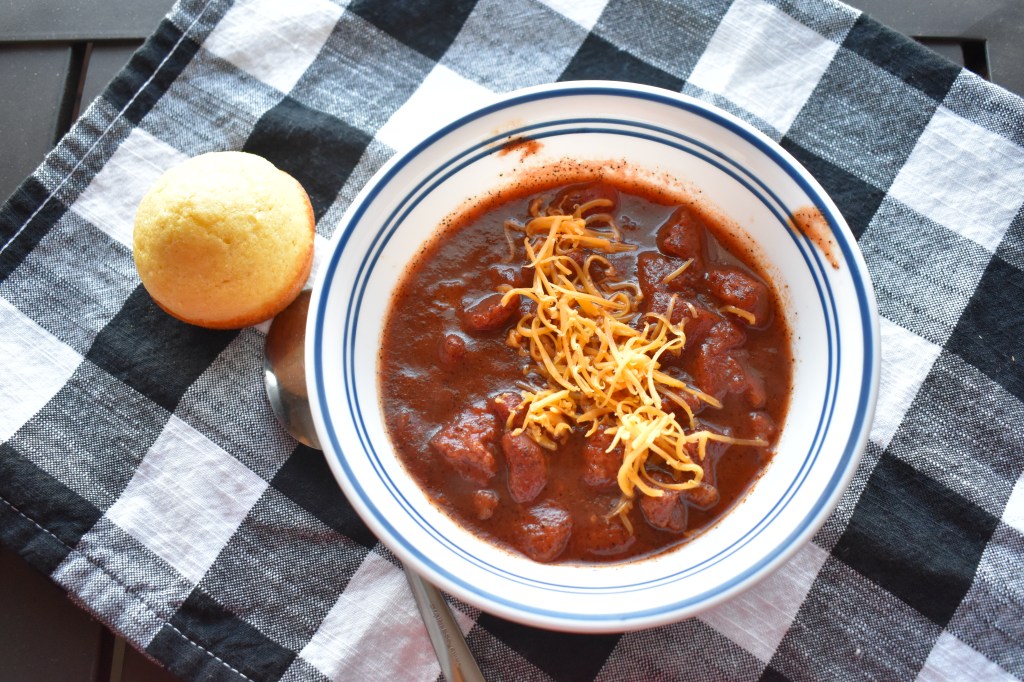
Serve with shredded cheddar cheese and cornbread muffins.

Enjoy!

I often make a big batch of this and will freeze a few servings for days when I need a quick meal. Can be kept in the freezer for up to 3 months. Reheat on stove or in the microwave.

River was asleep and did not notice that mom dropped a couple of crumbs of cornbread in-front of her.

Grandma’s Corned Beef

Corned beef is not just for St. Patrick’s Day. Heck in our family we often have it during any other holiday or when we visit my grandparents. My grandma learned how to make delectable corned beef from my great aunt who adds potatoes, rutabagas and cabbage to her recipe.

Now… I tend to get my corned beef at Aldi’s. This ironically is the same place where my grandma gets hers and we often stock up when it is on sale. There are two different cuts of corned beef, a point cut and a flat cut. Both are equally delicious, but my grandpa prefers the flat cut which is leaner without a lot the intramuscular marbling.

Ingredients:

1 3-5lb corned beef with seasoning packet

1 onion chopped

1 8oz can of beer

Instructions:

Place corned beef with the fat side up in a 6 quart crock pot.

Sprinkle seasoning packet on top of the corned beef.

Sprinkle the seasoning packet on the meat!

Place chopped onions on top of the corned beef.

Add chopped onions. Does not matter what type.

Pour 1 can of beef on the side of the corned beef and the crock pot. Do not pour over the meat. (I used a larger can, so that I could have some leftovers as a quality sample 😉)

Pour the beer on the side of the crockpot and the corned beef. Use whatever type you normally drink.

Place lid on and cook on low for 6 to 8 hours.

Can you see the steam rolling off?!

Enjoy with potatoes and your favorite veggie!

I completed the meal with mashed baby potatoes and oven roasted asparagus with a glass of milk.

Hope you enjoy this recipe. Have a save and Happy St. Patrick’s Day!

Mom’s Cornbread Muffins

Makes 18 Muffins

One of the first recipes that my mom taught me how to bake was her cornbread muffins. After that it was my job to make the cornbread muffins (with adult supervision) whenever we had chili. I demonstrated this recipe to the class when I was in 3rd grade and then once again in my Sophomore year of high school. You can almost say that I can almost make these muffins in my sleep!

Enjoy these muffins with your favorite chili recipe. Or freshly out of the oven with butter and honey!

Ingredients:

1 cup Flour

1 cup Cornmeal

1 T baking powder

3 T sugar

2 eggs

1 cup milk

3 T oil

½ t salt

Instructions:

Preheat oven to 400°F

Grease muffin tin.

Add ingredients to a medium sized mixing bowl, and mix.

Get ready to mix!
All mixed up.

Fill muffin tins half full and bake for 15 minutes.

Muffins are done when a toothpick is inserted and comes out clean.

Remove from muffin tin.

Perfectly little muffins!!

Enjoy!

Perfect for a dessert with some melted putter and honey.

Storage Tip: Store in a plastic bag in the refrigerator for 1 week. Can be warmed in the microwave for 30 seconds.

Chicken Fajita Rice Bowl

Serving 4-6

As of lately I have been loving anything Tex-Mex that has some kick. Growing up the only thing we got that was close was your basic ground beef tacos with a extra mild seasoning. We did not even use salsa because I did not like tomatoes. Now I love salsa on almost everything. Funny how time changes and your so taste buds.

This is a one pot meal that will surely be a hit with the family!

Ingredients:

1 chicken breast

1c brown rice

1 ½ c chicken broth or water

1 cup salsa

2 cups of frozen pepper and onion veggie mix

1/8c taco seasoning

2 tablespoons avocado oil

¼ tsp salt and pepper

Instructions:

Season the chicken breast with salt and pepper.

Using your instant pot, press sauté function and wait till your display reads hot.

Add avocado oil and seasoned chicken breast to the pan and for 3 minutes on each side.

Carefully add in the chicken broth to deglaze the pan.

Add in the rice. Do not stir.

Top the chicken breast with your favorite salsa.

Add the frozen pepper and onion veggie mix to the pot.

Top chicken breast with salsa, veggies and then sprinkle with your favorite taco seasoning.

Sprinkle the taco seasoning over veggies, chicken and rice mixture.

Turn off the sauté function. Place the lid on instant pot and turn the knob into the sealing function.

Using the Manual/Pressure cook function. Cook on high pressure for 28 minutes with a 10-minute natural release.

Your almost there. Take out the chicken, shred it, add back in.

When done. Remove chicken and shred. Add back to the pot and stir into the rice and veggie mixture.

If desired top with shredded cheese.

After all of the photos taken, and sitting down to eat dinner. River thought she could be official taste tester as well.

Enjoy!  

Johnna’s Green Smoothie

My second smoothie recipe for this blog, and it will certainty not be the last! This is because I tend to have 2-5 smoothies a week. My green smoothie was created during a time when I did not eat enough fruit or vegetables and needed a way to start tricking my mind into eating (ok drinking) them. This green smoothie is beyond delicious, but also provides a serving of vegetables, fruit, and dairy in one drink.

Now don’t be fooled by the green color, this is essentially a fruit smoothie with a punch of spinach.

Ingredients:

2 clementines

½ banana

Handful of spinach

1 cup Greek Yogurt

1 cup water

Pinch of cinnamon

Instructions:

Add spinach, banana, clementines, Greek yogurt and a pinch of cinnamon to a high powered blender.

Add 1 cup of water.

All of the ingredients in the blender.

Place the lid on the blender, and blend until smooth. About 1 ½ minutes.

Let the blender do magic!

Remove lid and pour into your favorite glass and enjoy!

Ok, this is one of my favorite cups ever. My #GOTMILK glasses were a gift for helping out during a dairy convention when I was getting my undergraduate degree.

The Clementine’s, banana and spinach can be placed in a freezer bag/ freezer safe container and stored in the freezer until you are ready to use them. Just add Greek yogurt, water and cinnamon when blending. I have found that a high powered blender works best when blending frozen clementines.

Moms Spaghetti Sauce

Growing up I thought all spaghetti sauces had ground beef in them, because that is how my mom made hers. Well I was wrong, and the sauce that I grew up on was a version of a Bolognese sauce. Who knew that my mom cooked fancy sauces?!

Another aspect to Mom’s Spaghetti Sauce Recipe is that the sauce is homemade and uses a secret ingredient which won’t be much of a secret much longer! Don’t worry, I asked for permission to share her secret.

The homemade sauce is unique and this fall I will be writing a post about it and how to can (fingers crossed). In the recipe there are hidden vegetables such as onions, garlic, green peppers and carrots, which is great for picky eaters! I guess that is how my mom got veggies into my brother and I. When I am not using mom’s canned homemade sauce, I add minced garlic, and minced onions to the sauce.

Ingredients:

1 lb of ground beef

32 ounces of tomato sauce

1 teaspoon Oregano

1 teaspoon Parsley

1 teaspoon Basil

1/8 c of dry grated Parmesan

Optional seasonings:

2 garlic cloves, minced

½ tablespoon dry minced onions

1 teaspoon Parsley

Cooking Instructions:

Brown 1lb of ground beef on medium heat in a large frying pan. Drain off excess grease if needed.

Add tomato sauce to the browned ground beef.

Mom’s homemade canned spaghetti sauce. This stuff is basically gold in my eyes.

Add seasonings (Oregano, Parsley, Basil) and stir. Since I am using homemade canned spaghetti sauce that has is already seasoned I do not need to add a lot of extra seasonings. If you are using plain tomato sauce add in the optional seasonings. 

Ground beef, tomato sauce and seasonings!

Now for the secret ingredient, dry grated parmesan. You know the stuff in the shaker cans! Add to the browned ground beef and tomato sauce mixture. The dry grated parmesan will help thicken the sauce.

The secret ingredient… Sorry mom it is not so secret any more. Dry grated Parmesan for the win!

Turn down the heat to low and allow the spaghetti sauce to simmer for 1 hour.

Simmer the sauce, this is when the magic happens.

Serve with pasta, spaghetti squash or even zoo-noodles.

Enjoy! Note: This recipe freezes well. I often will freeze a cup of this sauce when making it for a quick dinner on busy nights. Just thaw in the refrigerator and microwave until hot. Lasts up to 2 months in the freezer.

Farm House Quiche

A farmhouse quiche uses what is on hand and makes the most pickiest eater asking for seconds.

I started learning on how to make quiche’s after I tried one at a brunch and I was hooked. The only problem I had was, how do I make one that my dad and brother would love. The trick… bacon and cheese.

Ingredients:

Pie Crust (Can be the refrigerated pie crust or homemade)

4 -6 eggs

1/2 cup of shredded cheese

¼ cup of bacon bits

¼ teaspoon salt

¼ teaspoon pepper

½ of a green or red pepper sliced.

½ cup of milk

Instructions:

Preheat oven to 350°F.

I have made quiches with both homemade pie crust and also store bought. Use what you want, and what is on hand.

Roll out pie crust into an 8 or 9 inch pie plate. Take a fork and poke some holes in the bottom of the crust.

For a flaky crust, bake the pie crust for 5-10 minutes. This allows the crust to get heated, and to jump start the cooking process.

In a bowl crack 4-6 eggs and milk. Beat until combined.  

After the Holidays, my mom send me home with a dozen of eggs and a note. She is always hiding little notes in our stuff.
Mix until combined.

Add bacon bites, cheese (reserving about 1 tablespoon for topping), salt and pepper and beat until combined.

Carefully pour egg mixture into prepared pie crust.

Sprinkle on the reserved bacon and shredded cheese.

Just remember the crust does not need to be perfect. This is a farm house quiche.

Add sliced peppers to the egg mixture. This is when I get fancy and place them in a fun pattern.

Place the pie plate on to a cookie sheet, this will make for an easy oven clean up if your quiche is runiths over. Trust me cleaning an oven or setting off the smoke alarms is not fun!

Bake for 25-35 minutes, or until the eggs have set (no jiggle) and when cut with a knife it comes out clean.

Let cool for 5 minutes.

Enjoy!

Note: Leftovers (lets be real… there won’t be any) can be kept in the refrigerator for up to 3 days and reheated in the microwave from 30 seconds to 1 minute depending on the wattage.

Black Raspberry Smoothie

Happy New Year!

If you have made a New Year’s resolution to start eating healthier in the new year this quick smoothie recipe is for you!

In 2016 my parents gave me a Nutri bullet for Christmas, and that is when I joined the smoothie bandwagon. My first smoothie recipes went to the garbage as they were awful. After many trial and errors I have found the combination that works! It provides a servicing of dairy, veggies and fruit. Yes, this smoothie has vegetables in it and you can not even taste the spinach! Don’t be a hater until you have tried it!

Ingredients:

1 cup of non-fat plain Greek yogurt

1 handful of baby spinach

½ of a banana

¼  cup heaping of frozen black raspberries (if you cannot find black raspberries, regular red ones will work)

Pinch of cinnamon

Add spinach, banana, black raspberries, Greek yogurt and a pinch of cinnamon to the blender cup.

Add 1 cup of water to the blender cup. If you like thicker smoothies, add less water and more water for a thinner smoothie.

Place blender blades on the cup, and blend until smooth. About 1 ½ minutes.

Add the blender blades. If you want a thinner smoothie add more water.
Blend until smooth

Remove blender blades and enjoy!

Enjoy!

If you really get into make smoothies here are some time saving tips:

  • Prep your smoothies by placing the ingredients (besides the water, yogurt and cinnamon) in freezer safe plastic quart sized baggies. They will last up to 1 month in the freezer.
  • Or place the ingredients (besides the water, yogurt and cinnamon) in a freezer safe plastic container. They will last up to 1 month in the freezer and the containers are reusable!
Example of how I prep my smoothies

Spaghetti Squash via Instant Pot

Who got an Instant Pot for the Holidays? These gadgets are everywhere these days, and they are worth every penny! I was nervous when I got mine, as I did not think that I would use it often enough and it would end up on a shelf in my basement collecting dust. That is not the case and I it at least once a week to make a quick meal, in one pot without having to turn on the oven or stove.


I decided to type up this tutorial on how to cook a spaghetti Squash without the fear of cutting off your hand. Trust me, if you have ever had to cut a stubborn spaghetti squash you know the fear. On a random note: my dad once had to use a knife and a hammer to cut a spaghetti squash. So, Mom this is for you!

Ingredients:

1 cup of water
Spaghetti Squash

Wash Spaghetti Squash and carefully poke a sharp knife into about 10 times.

Place trivet in the instant pot and add 1 cup of water.

Place Spaghetti Squash on trivet.

Close the lid, turn the vent to the sealing position.

Press pressure cook/ manual and adjust the cooking time to 30 minutes on high pressure.

Once the instant pot is up to pressure and cooks down, use the quick release valve to release the pressure. Caution: the steam will be hot! I use a spatula to flip the quick release valve.

Carefully take out the Spaghetti Squash out of the instant pot. Let cool for 5 minutes and peel away the skin. Cut the squash in half and scoop out the seeds, and shred the flesh!

Peal off the skin, cut in half lengthwise, scoop out the seeds. Shred the squash flash and enjoy!

I hope you enjoyed this quick tutorial on how to cook a spaghetti squash without having to use a large knife or a chainsaw 😉.  

Enjoy!

Note: I have a 6 quart instant pot and a 2lb squash is a big as I can put in it. For smaller squash I cut the cooking time down by 5 minutes by ½ pound.  

Oven Roasted Asparagus

In a previous post I stated that I did not like vegetables, and that is a fact. I now eat them and one of the first vegetables that I actually started to crave was Roasted Asparagus. Yes, a vegetable that some adults shy away from because it is either to hard to prepare, to woody or they just don’t know how to make it. Well hopefully this post will convert the non- asparagus lovers over to the asparagus loving side!

Ingredients:

1 bunch of Asparagus

2 tablespoons of olive oil

Juice of 1 lemon

Pinch of salt

Couple grinds of fresh pepper

Preheat oven to 400°F.

Wash and Trim Asparagus

  • When you pick asparagus out at the grocery store, I find pick spears that are thin and roughly the size of your pinky finger. These spears will be more tender, and less woody.
  • When I trim asparagus, I grasp both ends of the asparagus spear and bend the pieces together. Where spear “snaps” is the point where the woody portion ends. I then lay the snapped end next to the rest of the spears and cut off the woody ends.
Bend the ends of the spear together till it “snaps”.
Place the “snapped” spear next to the uncut spears to use it as a guide. Cut off the woody ends.

Place on a baking sheet and add oil, lemon juice, salt and pepper. Stir to coat the asparagus.

Place in oven and bake for 10 minutes, stirring half way. Check after 10 minutes, if the asparagus is not easily poked by a fork place back in the oven for another 5 minutes. Asparagus is done when it can be easily poked by a fork and is slightly browned.

Slightly browned asparagus.

Enjoy!

*Note- if you do not have a fresh lemon on hand, you can use 1 tablespoon of lemon juice concentrate.

The roasted asparagus pairs well with roasted fish and a rice/quinoa mix 🙂